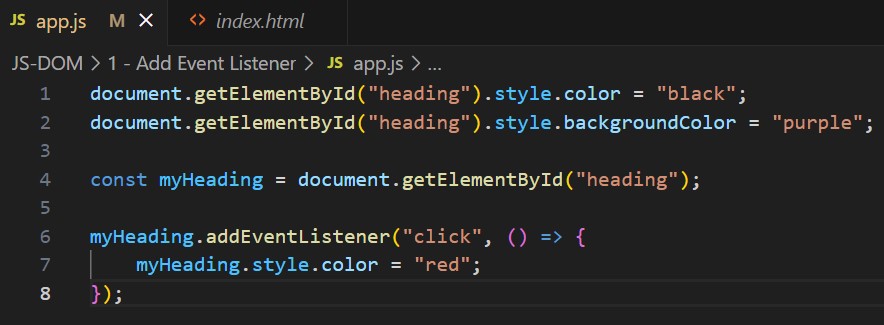
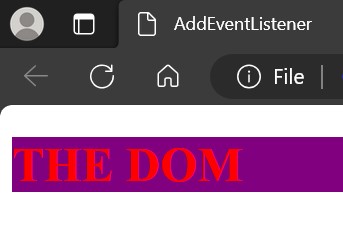
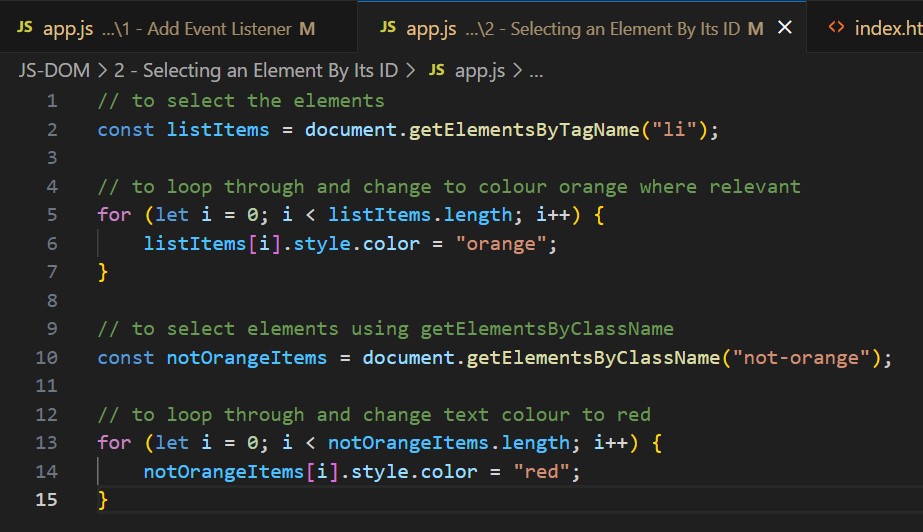
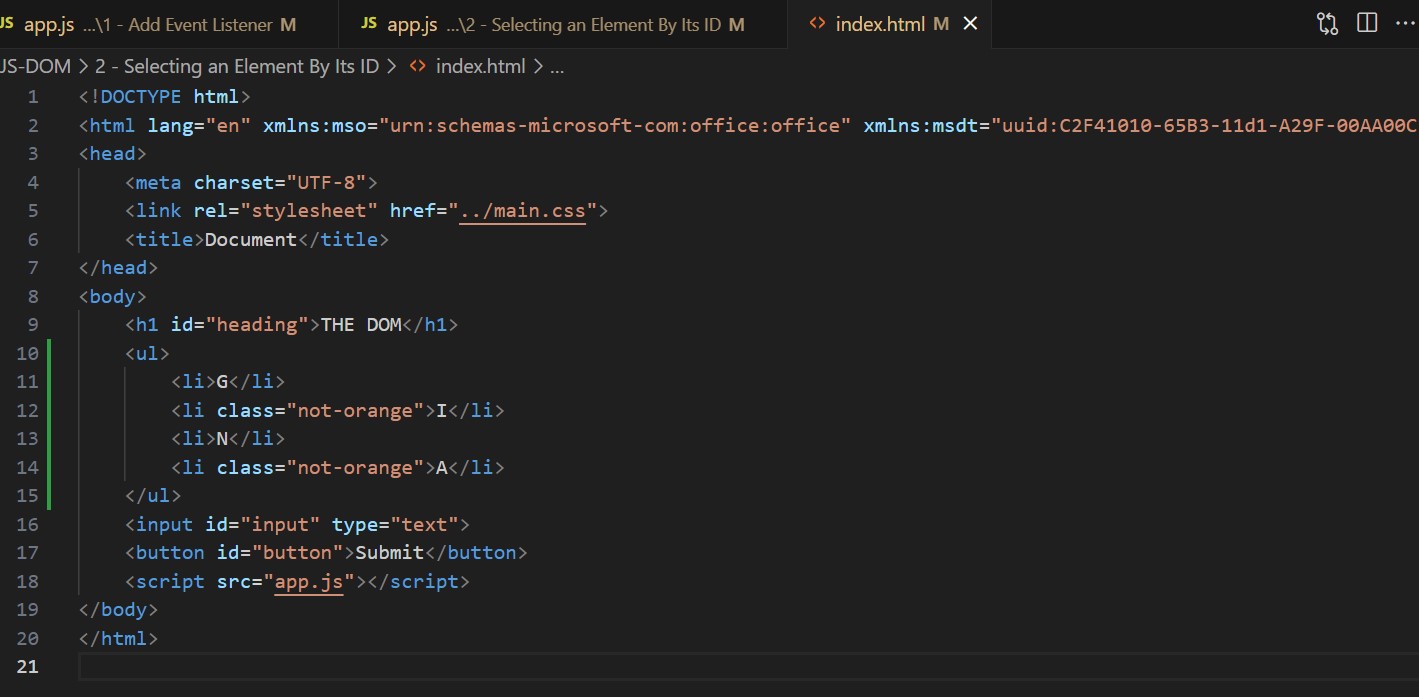
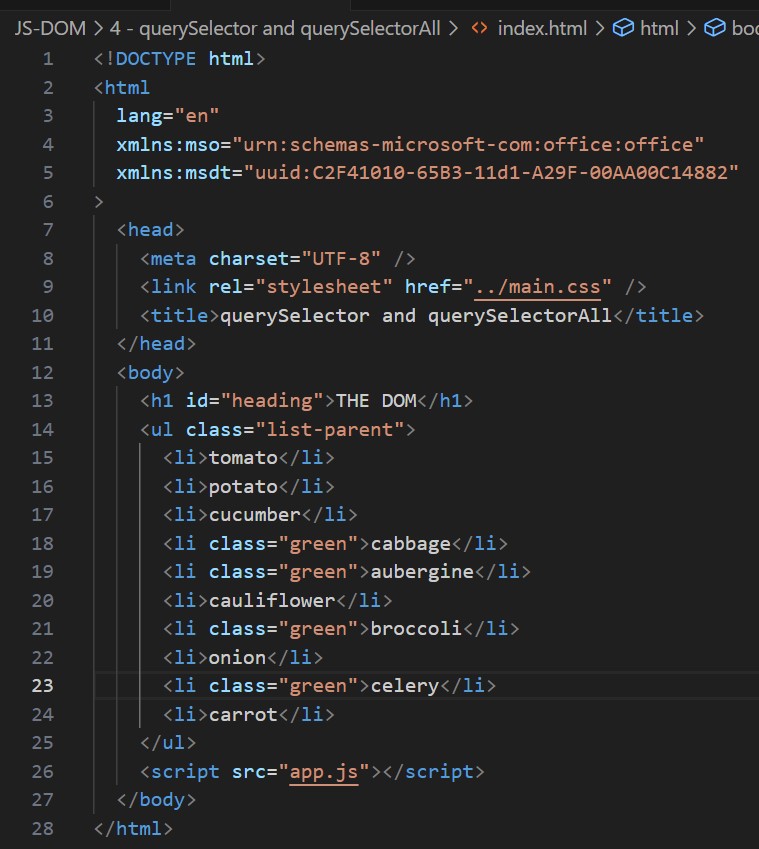
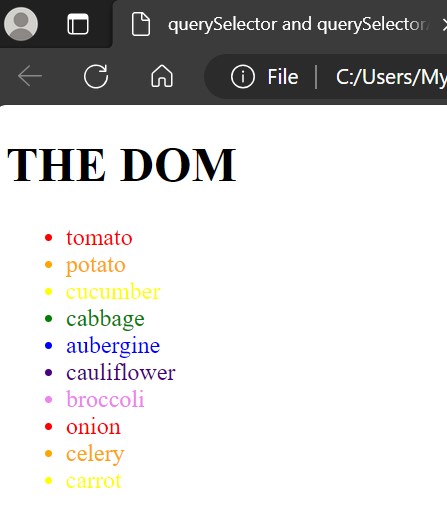
On the Monday, we covered a lot of information on JS DOM. We learnt about how we can use JS DOM to make changes and add elements to a web page. Below, I have included some image examples of my use of JS DOM to make webpage alterations.


On the Tuesday, we used the day to continue studying JS DOM.
On the Wednesday, we studied about keycode generators. I used JavaScript, HTML and CSS to make my first keycode generator. Click on the link below to see it.
After further reading about keycodes, I learnt that 'event.which' is now deprecated and is now replaced by 'event.key' and 'event.code'. Whilst 'event.which' can still be used, it may not work on all modern browsers. I also learnt about differences between ASSCI keycodes (American Standard Code for Information Interchange) and JavaScript Char keycodes. JavaScript Char keycodes are more versatile and appropriate for handling keyboard interactions in modern web development. My first keycode generator (linked above) uses 'event.which' to generate ASSCI keycodes. I wanted to create a keycode generator to generate JavaScript Char keycodes. I also wanted to make a keycode generator that is more modern and visually appealling. Therefore, I created another keyword generator, (linked below) by following a YouTube video, 'Making a Key Code Generator App Using HTML, CSS & JavaScript', on the channel 'WEB CIFAR'. The code for this second keycode generator is more complex and advanced. I will need to continue to study the code used for this generator in order to gain a greater understanding of how it creates the desired result.
On the Thursday morning, we looked at JavaScript functions and objects in more depth. This allowed us to revisit some of the material from the first week and develop a greater understanding of it. I think a big plus point of this is that it seems to have increased everyone’s confidence. Sessions like this are a reminder that it’s important to not only know the ‘how’, but the ‘why’ too. Also, as the boot camp progresses, I realise that the largest challenge is the development of problem-solving skills. I know this is only something that I will be able to develop through time and practice.
In the afternoon, we tackled the creation of drum kits. We were each required to make a digital drum kit using JavaScript, HTML and CSS. We were given a file of sounds, and we needed to create code that would generate the sounds in response to the pressing of keys. Like the keycode generator, this has required the use of adding event listeners. The screenshot below shows my drumkit at a functioning stage, before the completion of the external CSS file.

Below, you can see a link to my drumkit as it is now:
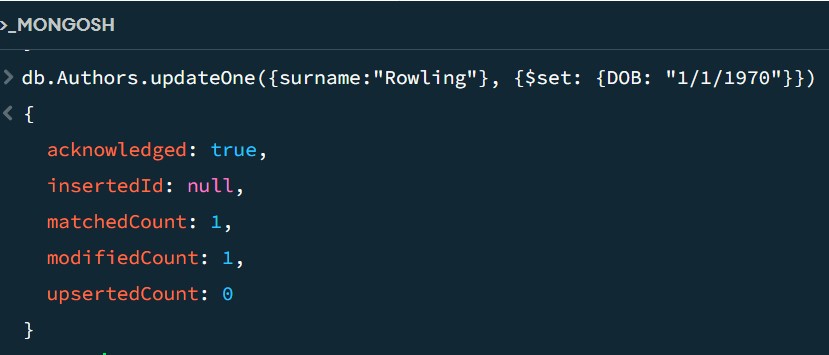
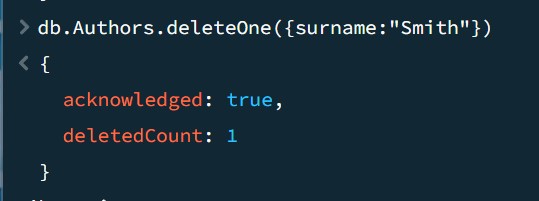
On the Friday we began the process of learning to use MongoDB. I learnt about the differences between MongoDB, SQL and NoSQL. I also learnt MongoDB terminology, how to create a MongoDB database and how to make alterations. Below are example screenshots: